The best way to learn how to use a new programming tool is to make something practical. And what’s more practical than a donut. Sure, as food donuts are empty calories and lots of sugar. But, from a drawing perspective, donuts require several different techniques.
For this tutorial, we’re going to be using Processing. So, before we get going, make sure you have downloaded Processing. The coding we’re going to be doing isn’t super complex, so you should be able to follow along, regardless of your programming skills.
Step 1: Setting up our sketch
When you start up Processing, you’ll see an empty sketch. We’re going to add two functions: setup() and draw(). These two functions are called by Processing when your sketch is running. Setup is called once at the start. The draw function is called repeatedly after that.
setup() {
	// This is where the setup happens
}

draw() {
	// This is where the drawing happens
}
Let’s set up our sketch to be a square of 1000 pixels high and wide. We’ll also set the color mode to HSB.
setup() {
	size(1000, 1000);
	colorMode(HSB);
}
Colors are defined by 3 numbers between 0 and 256. The default color mode in Processing is RGB, which stands for Red, Green, Blue. In this mode, the first of the three numbers determines how red the color is, the second determines the green value, and the third determines the blue level. HSB stands for Hue, Saturation, and Brightness. In HSB, the first number determines the hue. The second determines the saturation. The third determines brightness. HSB makes manipulating our colors a lot more intuitive.
Step 2: Let’s make a color palette
First, we’ll add a background color.
background(#5ABFBF);
We’re setting our color using a hex-code. This is a common way to represent colors. We can get the hex codes for colors using many drawing tools or using websites like Adobe Color. In a hex code, the first two hexadecimal numbers determine how red a color is. The second green. The third blue. Just like in color-mode RGB. Even if we’re in HSB mode hex-codes work like this. We can adjust a color we’ve defined with a hex-code by its hue, saturation, and brightness now.
In the example below, we’re defining three hex-codes. One for bright red, one for green, one for blue.
color(#FF0000); // RED
color(#00FF00); // GREEN
color(#0000FF); // BLUE
Let’s get a few colors defined to draw our donut with. We need a color for the dough, the glaze, and we need a bunch of colors for the sprinkles.
The dough and the glaze, we’ll set as simple variables at the top of our file.
color dough = #F2D3AC;
color glaze = #F87EA7;
For the sprinkles we want a bunch of different colors, so we set this as an array also at the top of our file.
color[] sprinkle = {
  #04B2D9,
  #F20530,
  #03A63C,
  #F2B705,
  #F25C05,
  #D0F2EF,
  #95D904
};
At this point, we can run our sketch for the first time! Unfortunately, it only really shows a blue square, because we’re not doing anything with our colors yet.
Step 3: A donut is just a really thick line
Let’s draw our donut. We can do this by just drawing a circle with a thick stroke weight. This gives us one problem though. If we want our donut to be 500 pixels wide, our circle needs to be a bit smaller to account for the line thickness. Math time!
To make our calculations easier, the hole in our donut will be of equal width to our donut’s stroke weight. If the dough is 200 pixels wide, the hole is also 200 pixels wide. This would give us a donut that is 600 pixels in size (the hole plus the dough on both sides).
Add these sizes to the draw() function.
float size = 500;
float doughWeight = size / 3;
float circleSize = size - doughWeight;
So, using what we know about our donut, we can calculate all the numbers we need. If we want our donut to be 500 pixels wide. Our line stroke weight is one-third of that size. This means donutWeight is size / 3. Our circle needs to take this stroke weight into account. We need to remove half the stroke weight from the size for each side of the donut. So, circleSize is size - doughWeight.
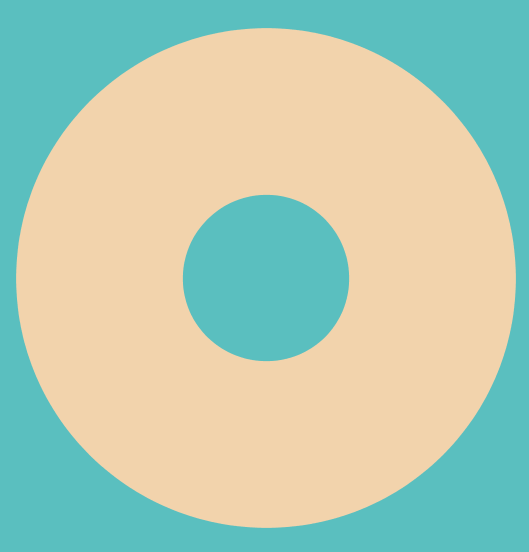
Now, we can finally draw our first donut. Underneath our size, in the draw() function, we can add the following:
noFill();
stroke(dough);
strokeWeight(doughWeight);
circle(width / 2, height / 2, circleSize);
The noFill() function removes the inside fill color of the circle. If we don’t do this, our donut hole would be white, rather than the background color.
The stroke() function sets the color of the circle’s stroke. We set this to our dough color;
The strokeWeight() function sets the weight, or thickness, of our circle. We set this to our doughWeight.
Lastly, the circle() function draws the actual circle. The first two numbers set the position of the circle. By default, this position is the absolute center of the circle. We set this to width / 2 and height / 2 to place the donut in the center of our drawing. width and height are predefined variables that Processing sets to the width and height of your drawing.
Let’s run our sketch to see what we got.
Step 4: The glaze
The glaze is actually really simple. It is just the same circle as the dough, but slightly less thick.
float glazeWeight = size / 4;
Instead of dividing by 3, we divide by 4. This makes the glaze slightly less wide.
stroke(glaze);
strokeWeight(glazeWeight);

circle(width / 2, height / 2, circleSize);
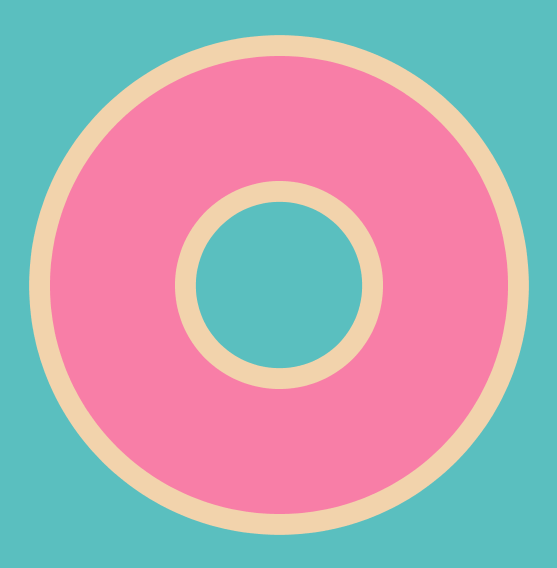
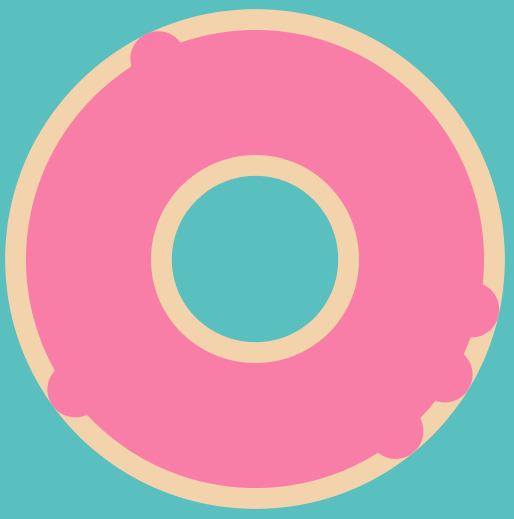
Now, this is beginning to look like an actual donut. It’s just a bit too clean. Glaze will always have a few runs and drips.
We’ll draw these drips as simple circles on random spots along the edges of our glaze. To make this easier, we’ll first use the translate() function. Translate moves the coordinates of our drawing. At the moment, our coordinate (0, 0) is the top left corner of our drawing. We want to move that coordinate to the center of the drawing.
translate(width / 2, height / 2);
We want to draw our drips in a somewhat random fashion. Add the following code.
float drips = random(2, 5);

for (int i = 0; i < drips; i++) {
  rotate(random(0, TWO_PI));
  float dripSize = random(circleSize / 6, circleSize / 10);

  fill(glaze);
  noStroke();

  circle(
    (circleSize / 2) + (circleSize / 6),
    0,
    dripSize);
}
First, we get a random number between 2 and 5 to determine how many drips there are. We use the random() function for this.
Then we use a for-loop to draw each drip.
For each drip, we rotate the entire donut by a random amount. TWO_PI is a predefined constant in Processing. The rotate() function takes an angle in radians, which goes from 0 to 2π. We also generate the size of our drip. We don’t want to make the drips too big, so we generate a random size between 1/10th and 1/6th the size of the circle.
Next, we set the fill color to our glaze color and turn off the stroke.
Finally, we draw the drip as a circle at the very edge of the glaze. Because we rotated our donut, we only need to move along the x-axis.
Run the sketch again; our donut is starting to really look tasty.
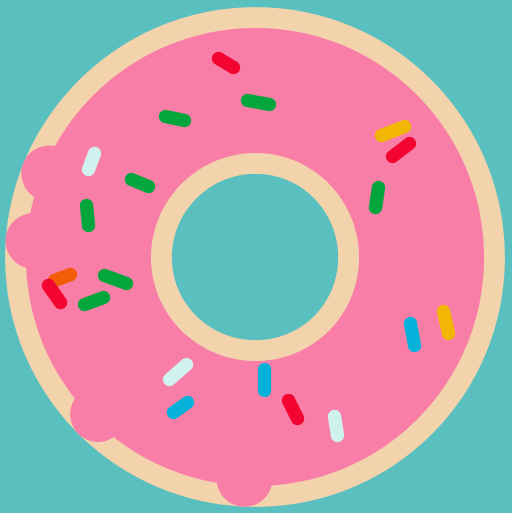
Step 5: The sprinkles
The pièce de résistance of our donut are the sprinkles. No donut is complete without sprinkles! (this is a hill I am willing to die on)
So let’s add a few sprinkles. First, we need to make a for-loop, because we want to add a whole bunch of sprinkles.
float sprinkles = random(15, 30);
for (int n = 0; n < sprinkles; n++) {
	// This is where our sprinkles are drawn
}
We get a random number of sprinkles to add, between 15 and 30. Then we loop that many times.
Inside our loop, we add the code to draw a sprinkle. Let’s first take a random color for our sprinkle (remember, we added our sprinkle colors as an array)
int randomIndex = floor(random(sprinkle.length));
color sprinkleColor = sprinkle[randomIndex];
stroke(sprinkleColor);
strokeWeight(circleSize / 25);
First, we get a random number between 0 and the size of our colors array. We can then use that number to take that color from the index. We set our stroke to this color and set the stroke weight to 1/25 the size of our donut.
Next, it gets a bit more complicated, but bear with me.
rotate(random(0, TWO_PI));
push();
float randomX = (circleSize / 2) + random(-(circleSize / 10), circleSize / 10);
translate(randomX, 0);
rotate(random(0, TWO_PI));
line(0, 0, size / random(20, 30), 0);
pop();
Like with our drips, we rotate our donut randomly.
Then we use the push() function. This function saves the current translations applied to our drawing. At a later time, we can use the pop() function to go back to this state. This means we can do translations using the translate() and rotate() functions, do some drawing, and then undo all the translations we did.
We need this because our sprinkles need to be rotated to random angles and need to be placed nicely on our glaze. We choose a random number somewhere on our glaze. Same as with the drip, we only need to move along the X-axis. circleSize / 2 gets us on our circle, so we add a random number between -1/10th the circle size and +1/10th the circle size to get us to a random spot. This time, we’ll use translate() to move in position, because our sprinkle itself needs to be rotated randomly.
We then draw a line of a random size (between 1/20th and 1/30th the size of our donut).
Finally we use pop() to undo the translate() and rotate() we did. That way we can repeat the process for our next sprinkle.
Step 6: The result
Now it is time to run our sketch one more time to reveal our donut!
Here’s the full code, in case you missed a step.
color dough = #F2D3AC;
color glaze = #F87EA7;
color[] sprinkle = {
  #04B2D9,
  #F20530,
  #03A63C,
  #F2B705,
  #F25C05,
  #D0F2EF,
  #95D904
};

void setup() {
  size(1000, 1000);
  colorMode(HSB);
}

void draw() {
  background(#5ABFBF);

  float size = 500;
  float doughWeight = size * 0.33333;
  float circleSize = size * 0.66666;

  noFill();
  stroke(dough);
  strokeWeight(doughWeight);
  circle(width / 2, height / 2, circleSize);

  float glazeWeight = size / 4;

  stroke(glaze);
  strokeWeight(glazeWeight);

  circle(width / 2, height / 2, circleSize);

  translate(width / 2, height / 2);
  float drips = random(2, 5);

  for (int i = 0; i < drips; i++) {
    rotate(random(0, TWO_PI));
    float dripSize = random(circleSize / 6, circleSize / 10);

    fill(glaze);
    noStroke();

    circle(
      (circleSize / 2) + (circleSize / 6),
      0,
      dripSize);
  }

  float sprinkles = random(15, 30);
  for (int n = 0; n < sprinkles; n++) {
    int randomIndex = floor(random(sprinkle.length));
    color sprinkleColor = sprinkle[randomIndex];
    stroke(sprinkleColor);
    strokeWeight(circleSize / 25);

    rotate(random(0, TWO_PI));
    push();
    float randomX = (circleSize / 2) + random(-(circleSize / 10), circleSize / 10);
    translate(randomX, 0);
    rotate(random(0, TWO_PI));
    line(0, 0, size / random(20, 30), 0);
    pop();
  }

  noLoop();
}
